My, oh my, how time flies! I can hardly believe I'm sitting here writing a post for the blog's one-year anniversary, already! It seems like just a few weeks ago that my hubs and I were saying, “Wow, it's been 4 months since we've started the blog...it's been 6 months...8 months…”. Funny how life seems to move at light speed when you're going from blog post to blog post. I'd really love to share with you what a pleasure it has been this past year for my husband and I to have the opportunity to work together on this special endeavor that is our blog; it's been such a tremendous learning experience, on so many levels: creatively, spiritually and physically. And believe me, we've been tested in each one of those areas at some point, let me tell you. The Cozy Apron has provided opportunities for us to not only stretch ourselves and to continue to develop, but opportunities to connect with some truly interesting, inspiring and wonderful people that help us to keep our desire to continuously “up the game”, burning hot. And it's that human connection that's most important to us. Please let me tell you this openly, and with all sincerity: each time one of you prepare a recipe of mine and come back to share your experience, it touches us immensely; especially when YOUR experience with the recipe ends up touching the people in your life in a loving and positive way. And when you share these recipes with others, or leave your honest and thoughtful comments, you show your support for what my husband and I do here. And for all of those things, as well as your continued readership, we cannot thank you enough; so here's a big, “virtual” hug and smooch for starters, at least!
When my hubs and I set out to work on The Cozy Apron, we knew without a doubt that this would be a very personal project for us. Truth be told, we have a lot of hopes and desires for the blog; some for the near future, and some for a little ways down the road. And as this second year begins to take shape, we'll be working to raise the bar even more, to continue to bring readers something that will be nourishing to both the body and soul, ideally. So here's to this upcoming year, this second year in the life of The Cozy Apron; and my husband and I very much look forward to all that it'll bring.

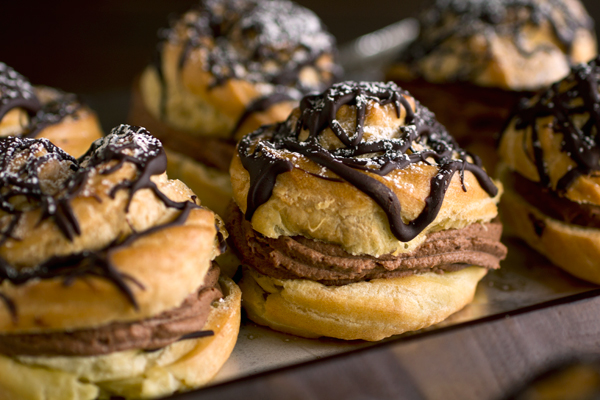
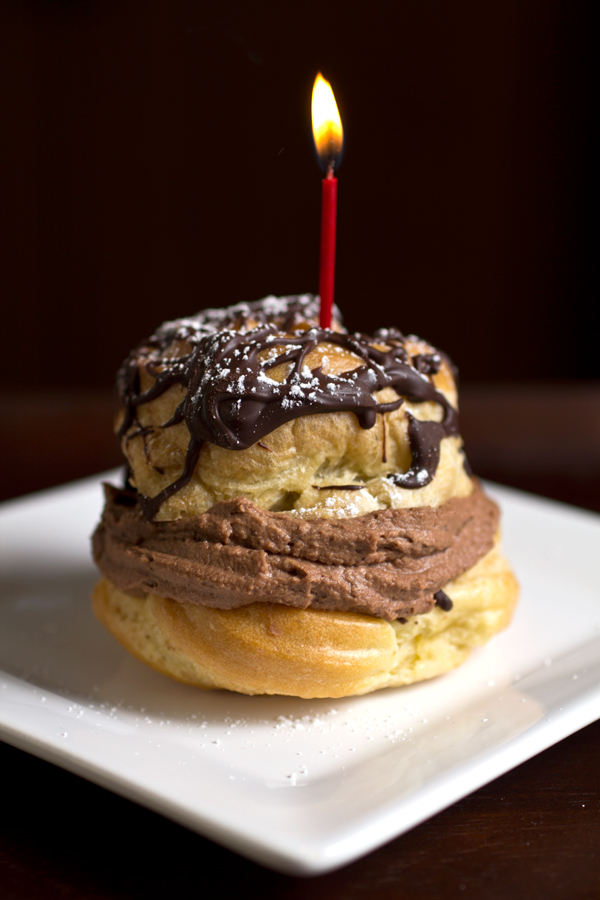
OK...so now we all need some dessert, right? I thought since we're celebrating our first birthday with this post, something chocolaty, creamy and dreamy was definitely in order. Sound good? Honestly, it's been such a long time since I've made cream puffs—I'm talking YEARS—that I thought it'd be fun to get out the ol' star-tip and piping bag, and give these sweet cuties a whirl again to share them with you. So go ahead and grab one, and let's get to singin' “Happy Birthday”! Ooh, I can't wait.
A one, a two, a three....
Taste what's good and pass it on.
Ingrid
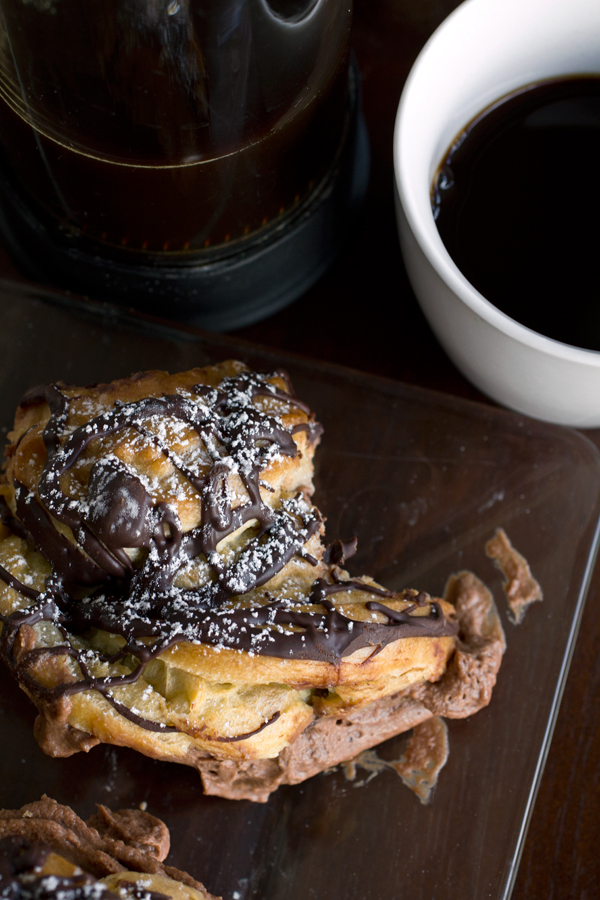
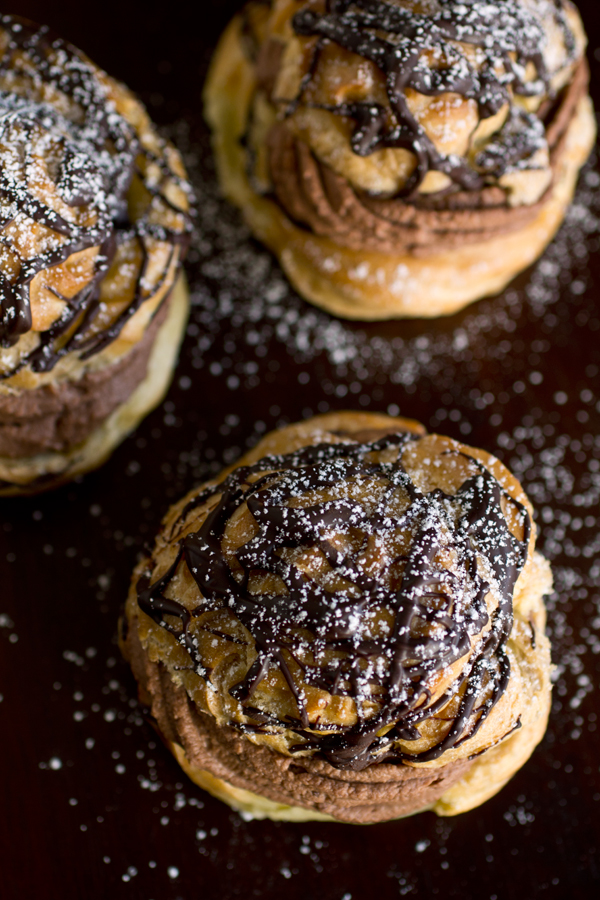
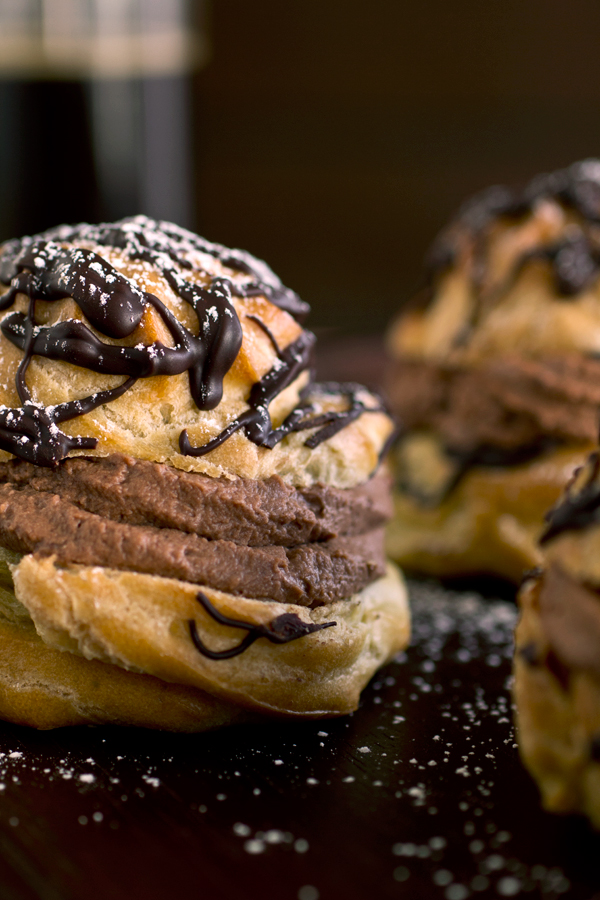
Big & Dreamy, Double Chocolate Cream Puffs
Print this recipe
(Makes about 20-24 puffs)
Ingredients:
2 cups water
5 ¼ oz unsalted butter (10 ½ tablespoons)
2 tablespoons sugar
½ teaspoon salt
1 teaspoon pure vanilla extract
1 ¼ cups plus 1 heaping tablespoon all-purpose flour
6 eggs
4 ounces semi-sweet chocolate chips, melted, for drizzling
• Rich, Chocolate Whipped Cream (recipe below)
• Powdered sugar to dust, as garnish
Preparation:
-Preheat the oven to 375 (or 350 if convection oven) and line a baking sheet with parchment paper.
-Add the water, butter, sugar, salt and vanilla to a large pot, and set over medium-high heat; bring the mixture just to the boil, stirring a little bit to help the butter melt, and as soon as the mixture begins to boil, turn the heat off; add all of the flour into the pot all at once and stir vigorously to blend the mixture and to allow it to form a smooth, elastic dough or “batter” (at first, it will look like the flour is clumping up, but don't worry; continue to stir until the mixture comes together and resembles an elastic “play dough” consistency); turn the heat back on the lowest setting, and stir the dough mixture for about 1 minute more over the heat to cook out some of the “raw” flour taste; turn off the heat, and transfer the dough mixture to the bowl of an electric mixer fitted with a paddle attachment.
-Turn the mixer on low, and mix the dough for about 3-4 minutes to allow it to begin to cool down slightly; next, begin adding one egg at a time to the dough, allowing each egg to fully incorporate into the dough mixture; once all eggs are added, turn the mixer off, and add the batter to a large piping bag fitted with a large star-tip (work in two batches, if necessary).
-To make the puffs, pipe about a 2”x 2” rosette shape moving upward with your piping bag, creating about 8 puffs per baking sheet (I bake mine one sheet at a time for more even baking); dab a little water on one of your fingers, and pat the pointy tip of the puff to flatten it a bit so it won't burn, and place the puffs into the oven for roughly 30-40 minutes, or until they're golden brown and completely dry to the touch; repeat the process until all puffs are baked, and allow them to cool completely before decorating them. (*These puffs are meant to be the shells or “containers” for the cream filling, so if they seem a tad moist or not completely cooked through in the center, don't worry; you'll remove the center part of the puff anyway.)
-To decorate the cooled puffs, generously drizzle the melted semi-sweet chocolate over the tops of the puffs, and allow it to set up (you can expedite things by placing them into the fridge to firm for about 30-40 minutes); once the drizzled semi-sweet chocolate is set, carefully cut the puff in half, and with your fingers, scoop out the excess dough in the center of the puff making it hollow; pipe some of the Rich, Chocolate Whipped Cream onto the bottom half of the puff, starting with the outer edge working inward, and then cover with the top, dust lightly with powdered sugar, and serve.
Rich, Chocolate Whipped Cream ingredients:
7 ounces semi-sweet chocolate chips
3 cups cold whipping cream, divided use
6 tablespoons sugar
Preparation:
-Place the chocolate chips into a bowl and set aside.
-Pour 1 ½ cups of the heavy cream into a small pot, and add the sugar in; place the pot over medium heat, and bring the cream mixture to the simmer, and turn off the heat; pour the hot cream/sugar over the chocolate chips, and whisk to combine and melt the chocolate completely; set the melted chocolate mixture into the fridge for about 30-40 minutes to help it quickly cool, completely.
-Once cooled, add the melted chocolate mixture to the bowl of an electric mixer fitter with a whip attachment, and add the remaining 1 ½ cups of cold whipping cream, and whip together on medium-high until the mixture becomes a fluffy whipped cream. Store in fridge covered with plastic wrap until ready to use; same goes for any unused portion.
Eleanor @ Ballyhoo & Bedbugs
Happy Blogiversary!
The time really does fly by doesn't it? Here's to many more years of your beautiful blog!
The Cozy Apron
Thank you so much for that, Eleanor!
Olga's Flavor Factory
Congratulations! You have created a beautiful blog, with amazing recipes. I especially love your videos. The cream puffs look delicious, and the filling looks really luscious! Cream puffs are one of my favorite pastries. I love pate choux in every way:) Good luck on your blog!
The Cozy Apron
Thank you Olga - I appreciate your kind comments!
Lynda Rice
HAPPY...HAPPY BIRTHDAY TO "THE COZY APRON" It was a fun year with you. A toast two you both for delighting us with your wonderful recipes, food photo's and creative stories! Looking forward to another year of your posts. I too agree that we all got a big kick out of your videos. Give big hugs to Lola!
Joanne
Happy Birthday! Just change one thing...stop making me so hungry! Best wishes!
The Cozy Apron
Thank you, Joanne - precious comments!
Northern Cottage
I'm completely smitten with this recipe - serious yum!! I've pinned it as one of my fav new finds!!! Mmmm!
The Cozy Apron
Hi there! That's so very sweet of you - thanks!