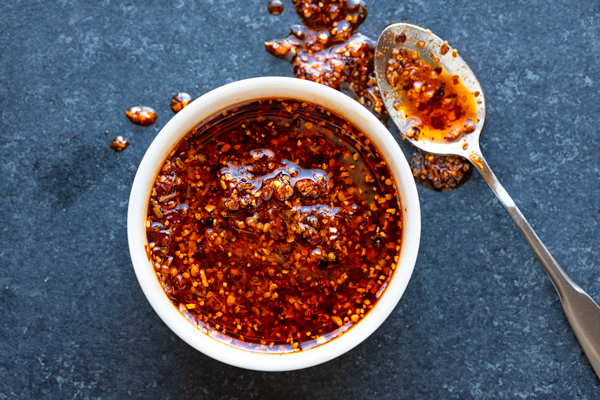
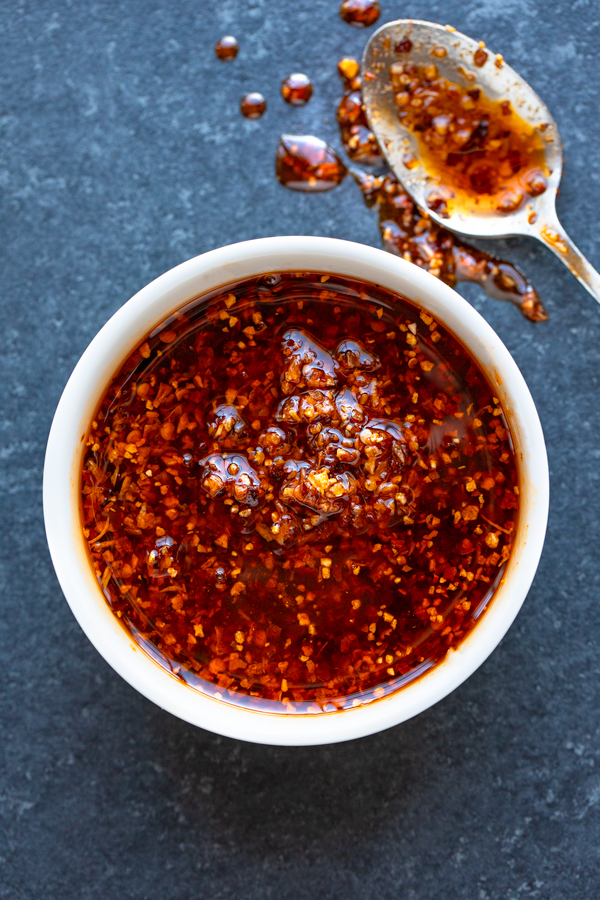
My chili crisp is a savory and spicy condiment that's easy to make from scratch, perfect to drizzle over pot stickers, noodles, vegetables, or anything your imagination inspires. Loaded with flavor from red pepper flakes and minced, dried onion and garlic, this chili crisp recipe has no MSG added, and is prepared with just a handful of pantry ingredients, providing some pep to your favorite dishes!
A savory and spicy way to jazz up your favorite dishes
Ever since chili crisp became all the rage to drizzle over our favorite Asian-inspired dishes a few years back, I've been a huge fan.
I was absolutely delighted when I saw that Trader Joe's started to carry their own version of it, and would typically buy a couple of those glass jars filled with a gorgeous, red-hued oil brimming with bits of red pepper flakes, garlic, and minced onion.
I happen to love spicy food, especially spicy oils, condiments, or sauces that I can drizzle over top of my favorite dishes. Chili crisp is the perfect example of this, loaded with those zippy flavors that I love. Plus, it has a wonderful crunch, or “crisp” to it!
I like to generously drizzle chili crisp over my chicken potstickers, add to certain soups, garlic sautéed bok choy, or “power” greens with rice and beef. And I really love it as a kicky topper to my chili crisp cauliflower recipe, an Asian-inspired roasted cauliflower side.
So when I got to the bottom of my last glass jar of store-bought chili crisp recently, I thought it might be time to put together a simple little recipe of my own to keep on hand for whenever I get the craving.
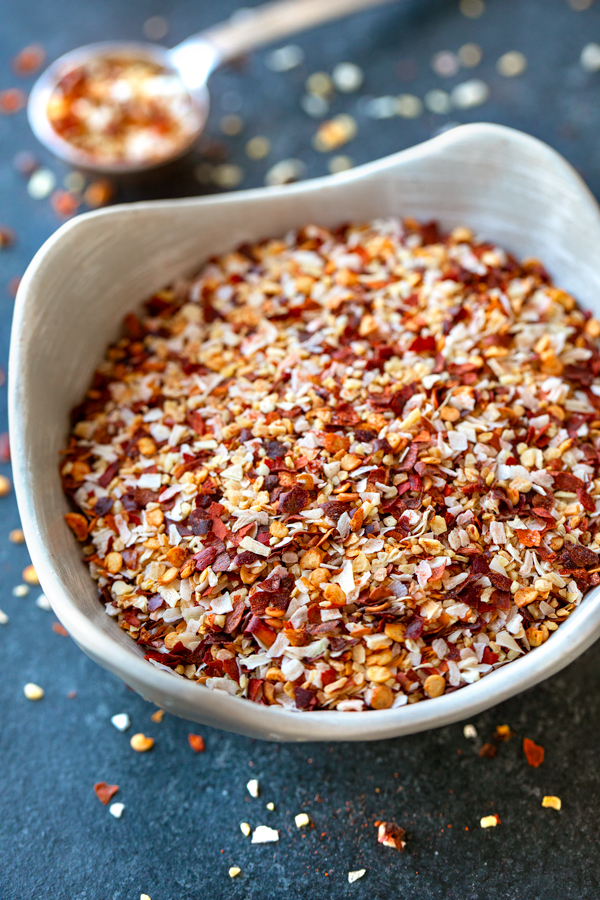
My chili crisp recipe is made with just a few ingredients, and with no MSG added in. I like a neutral oil, lots of red pepper flakes, minced dried (or dehydrated) garlic and onion, a sprinkle of paprika for color and flavor, and touch of salt. See? Simple!
And I love to keep it in a glass jar at room temp, and pretty much drizzle over everything that can benefit from some savory kick!
My recipe for chili crisp
For me, the appeal of chili crisp lies in its garlic and onion flavors, along with its spiciness. The bits of dried pepper flakes, onion, and garlic add a satisfying crunch—hence the name "chili crisp".
Some recipes are more involved when it comes to the ingredients and steps, and some even use MSG to give more umami flavor. But I'm keeping this one very simple, healthy, and quick to make at home, yet still brimming with the flavors that are divine in chili crisp.
This recipe also yields a generous portion—roughly 1¼ cups—so if you're anything like me and go through a lot of this stuff, you'll be golden for a while. New to chili crisp or don't use quite so much? You can easily halve the recipe ingredients for a more reasonable quantity.
And, what I really love about this chili crisp recipe is that there's almost no cooking at all, and it only takes a few minutes to prep. Only the oil needs to be heated before being carefully poured over the aromatics, in order to help open up the flavors and permeate all the other ingredients.
Here's a glance at my chili crisp recipe: (or just jump to the full recipe...)
- To get started, I add all of my aromatic ingredients to a large, heat-proof glass jar (a mason jar with a lid is great here), and mix to combine.
- Then, I heat my neutral oil to 330°, to get it nice and hot.
- Next, I very carefully and slowly pour my hot oil over my aromatics in my glass jar, allow it to vigorously (and satisfyingly) bubble up and “frizzle” (a combo of fry and sizzle), and then gently give it a stir with a fork or spoon to incorporate.
- The chili crisp is then allowed to completely cool to room temp before I cover with a lid and keep at room temp to use whenever desired. (In fact, it's best to wait the day after prepping for deeper flavor.)
Recipe
Chili Crisp Recipe
by Ingrid Beer

This easy chili crisp recipe is the perfect spicy-savory condiment to drizzle over potstickers, noodle or rice dishes, even veggies!
Category: Condiment
Cuisine: Asian-American
Yield: Serves 1 ¼ cups
Nutrition Info: 80 calories (per tablespoon)
Prep Time: 10 minutes
Cook time: 10 minutes (to heat oil)
Total time: 20 minutes
Ingredients:
- 4 tablespoons red pepper flakes (you can do a very quick pulse in spice grinder, if desired)
- 3 tablespoons (heaping) dehydrated (or dried) minced onion
- 3 tablespoons (heaping) dehydrated (or dried) minced garlic
- 1 ¾ teaspoons paprika
- 1 ½ teaspoons salt
- ¾ cup plus 2 tablespoons neutral oil (I used avocado oil)
- Begin by gathering and prepping all of your ingredients according to the ingredient list above to have ready and organized.
- To a larger, heat-proof (glass) jar (at least 10 to 12 ounces in size), add the red pepper flakes (which you can give a quick pulse to in a spice grinder for slightly smaller bits), the dehydrated or dried minced onion and garlic, the salt and the paprika, and stir to blend.
- Next, pour the oil into a small sauce pan or pot, and heat to roughly 330°.
- Then, very, very carefully and slowly pour the hot oil into the aromatic spice mixture in the heat-proof jar (it will bubble up and frizzle quite vigorously, which is perfect). Give things a careful and gentle stir with a fork or spoon, to blend together for a moment.
- Allow the chili crisp to completely cool, give it a stir, then cover with a lid and store at room temp.
- For best flavor, allow the chili crisp to sit for at least one day after preparing it, for deeper flavor. Then enjoy on all your favorite foods that can use some kick.
Tips & Tidbits for my chili crisp recipe:
- Use a neutral oil for best flavor: You’ll want to use an oil that is fairly neutral in flavor, and I opt for pure avocado. I like avocado oil because it does well being heated up to a higher temp, and doesn't compete with the flavors of the aromatics. You can also use canola or vegetable oil, even peanut oil, but avocado oil is healthier so I stick to that.
- Give the red pepper flakes a quick grind: While you can certainly keep your red pepper flakes as they are and not grind them, I like to give them a very quick pulse in my spice grinder just to make 'em a little finer. This also helps to “open” them up, and get them ready for the hot oil poured over.
- Allow the chili crisp to cool after preparing: Since you're adding very hot oil into the aromatic ingredients, allow time for the chili crisp to cool before using. I like to prep it, allow it to completely cool, then use the next day once the flavors in the chili crisp have had a chance to marry and really come through.
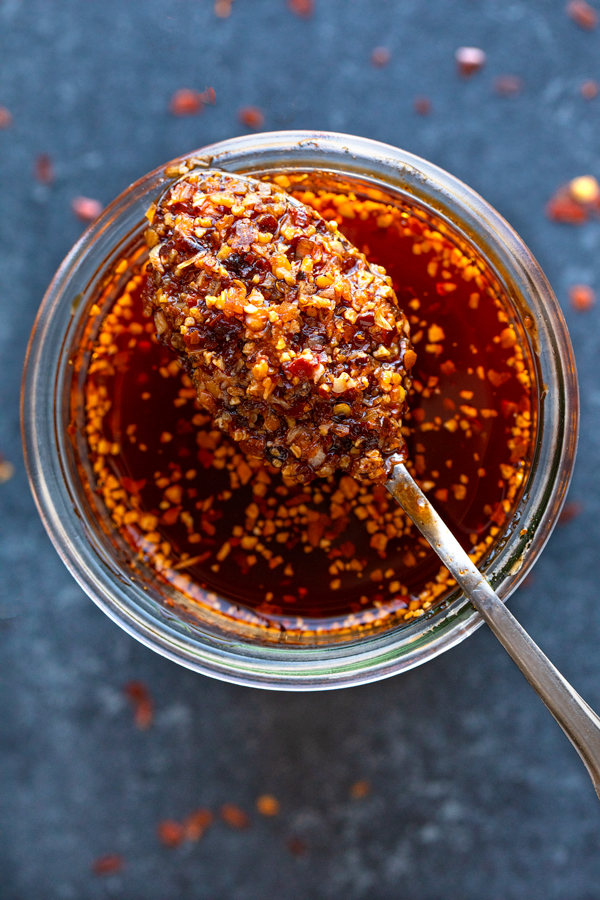
- Give it a good stir before using: When ready to enjoy your chili crisp, always give it a good stir to blend the aromatic ingredients well. Scoop from the bottom of the jar to get lots of the red pepper flakes, onion, and garlic bits, which is what gives this tasty condiment its crunch or “crisp”. You want both some oil, and some of the delicious crispy bits on the bottom.
- How to store chili crisp: I like to store my chili crisp in a glass mason jar (or other glass jar) that has a tight, accompanying lid, and keep it at room temp. It should keep for several months this way. Because I'm using dried (or dehydrated) garlic and onion for this recipe, it's safe to keep it for that amount of time. You can also just keep it in the fridge if you prefer, and then allow it to come to room temp to liquify before enjoying.
- What to enjoy chili crisp with: Chili crisp goes deliciously over chicken potstickers, chilled udon noodles, beef fried rice, or any inspired dish that can use some kick.
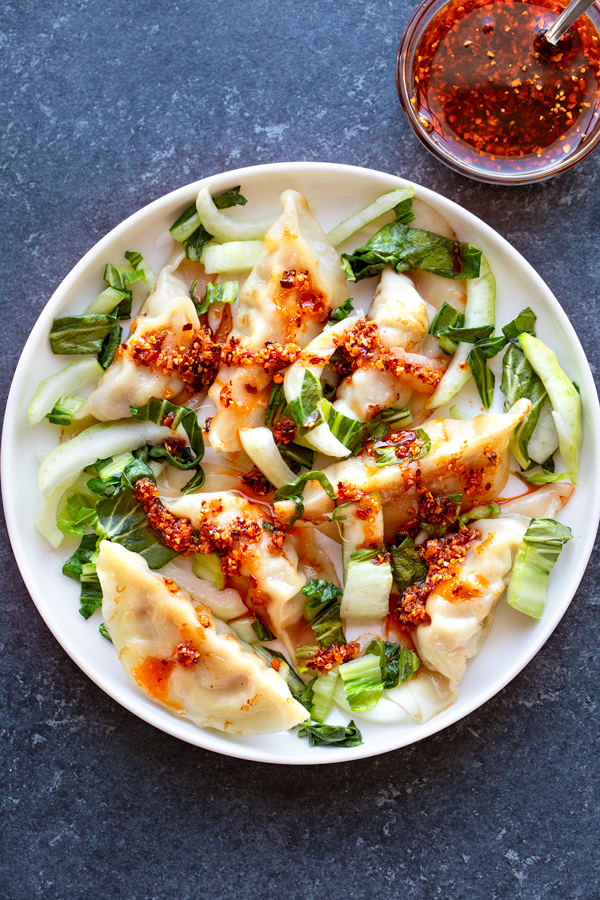
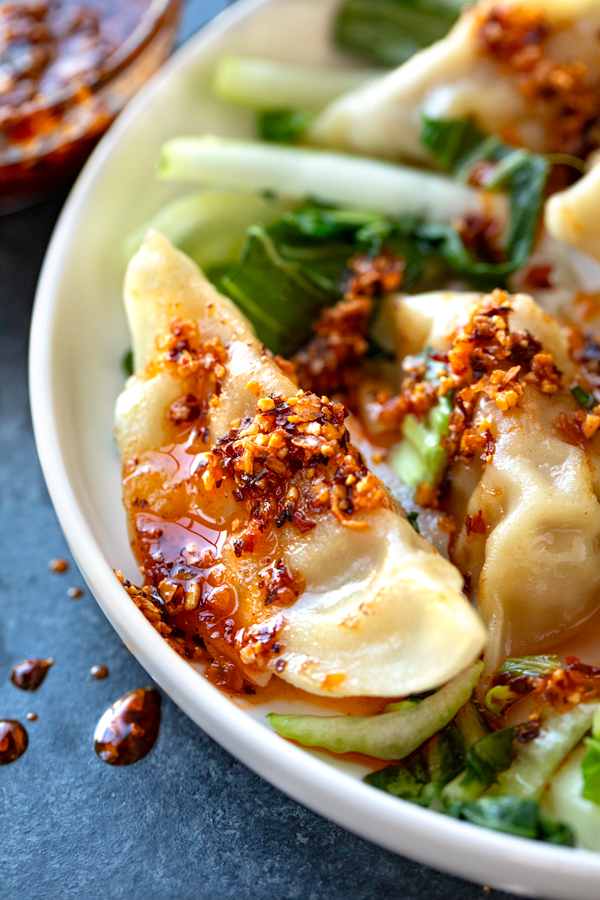
Hungry to see the dishes you can enjoy this tasty condiment with? Drizzle it over Chicken Potstickers, Beef Fried Rice, Udon Noodles with Garlic and Sesame, Spicy Pork with Noodles, or even Chili Crisp Cauliflower!


Leave a Reply