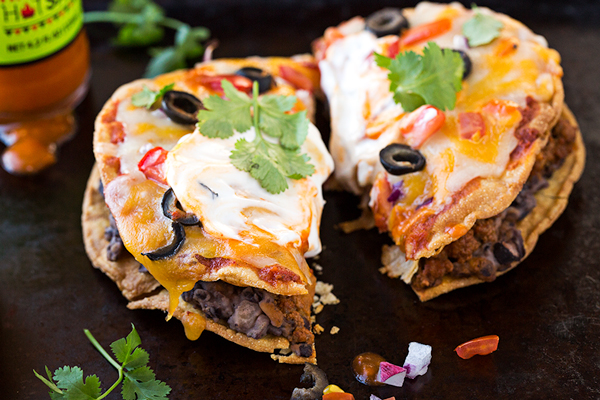
Mexican pizza prepared at home with fresh, delicious ingredients makes for the best tasting and healthiest take on a fast food fave!
Mexican Pizza, No Drive-Thru Required
While it's been a very long time since I've gone through the drive-thru of a fast food establishment, other than “In & Out” for the occasional “animal-style” cheeseburger, there was a time in my late teens and early twenties when I'd enjoy grabbing some junk food from time to time.
Whenever I'd crave something with "south-of-the-border" flavor, one of my favorite items to bring home was a Mexican pizza, that crispy-crunchy little treat filled with zesty flavors. It was super tasty, but I typically ended up feeling like it was too greasy, which of course it was—it was fast food! 😉
But I've found that making Mexican pizza from scratch, with fresh, healthy ingredients, tastes way better than the “drive through” variety. It's fairly easy to prepare as well!
For me, it’s a tasty and healthier take on a fast food classic that’s been fun for me to master in the comfort of my own kitchen. I'd rather skip the drive-thru and make homemade Mexican pizza instead!
How to Make Mexican Pizza
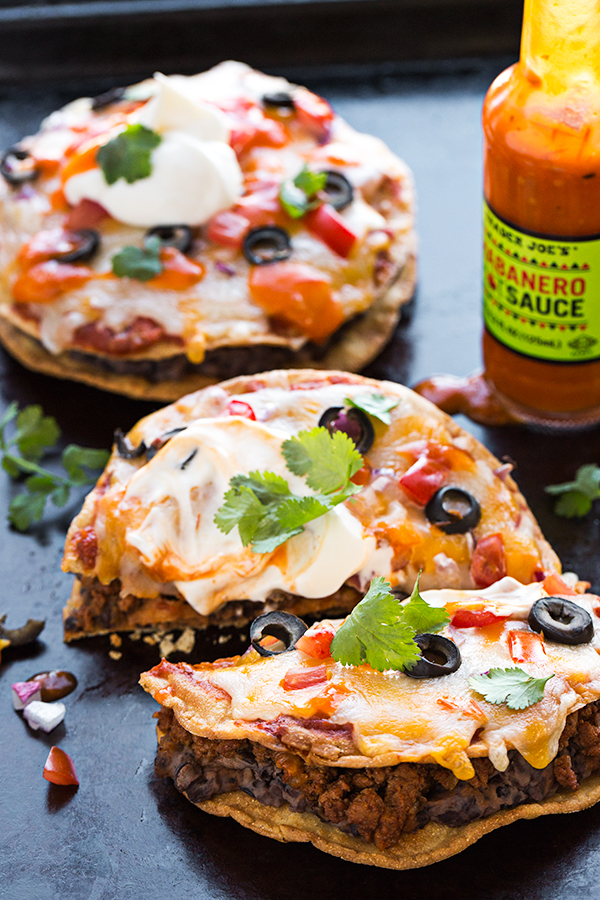
The basic components for a delicious, cozy and well-seasoned Mexican pizza recipe are a couple of fried corn tortillas, some seasoned ground beef, refried beans, taco sauce and some cheese.
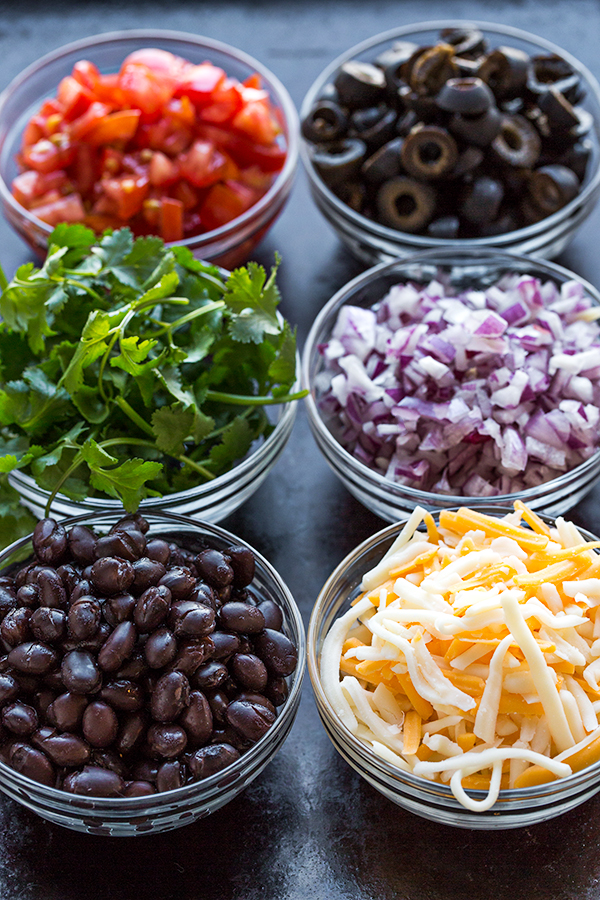
I like to add a couple of other fresh toppings to the mix as well, and opt for finely diced tomato, cilantro, and a sprinkle of sliced black olives.
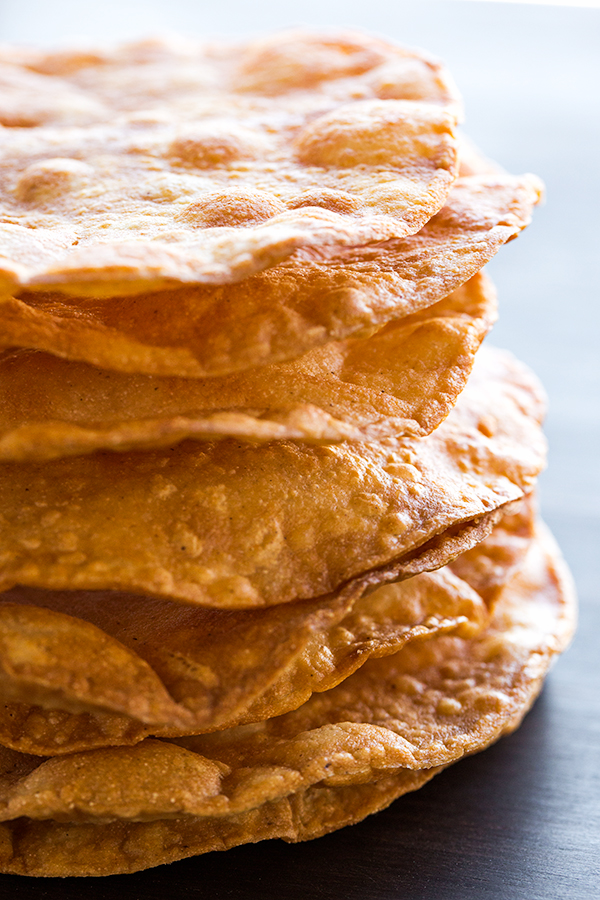
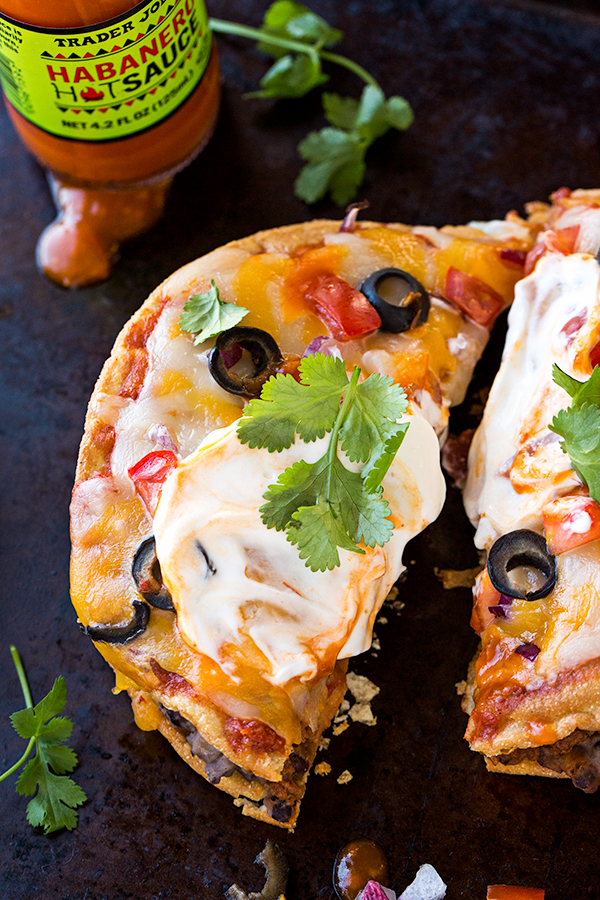
While you can certainly use store-bought tostado shells for this recipe, let me tell you that nothing beats freshly-fried white corn tortillas. These taste the freshest with an extra crispy texture, which makes this Mexican pizza extra yummy. And the white corn tortillas literally only take about 45 seconds to shallow fry!
For the filling, I like to control the level of spice in my ground beef mixture so I mix together a handful of fragrant, warming spices in a ramekin to use in this preparation. I opt for lean ground beef so there's not much fat (which makes things even healthier), and also use diced onion and garlic for added flavor.
Whipping up a batch of extra delicious beans is a breeze as well! I like to use black beans for this recipe, and add a touch of spice to them, heat them up, and mash them until slightly smooth/chunky for a delicious touch of texture.
All of these homemade components are simple to prepare, but take the flavor of Mexican pizza to a "whole 'nother level"!
Here’s a glance at my Mexican pizza recipe (or you can jump to the full recipe further down the page...):
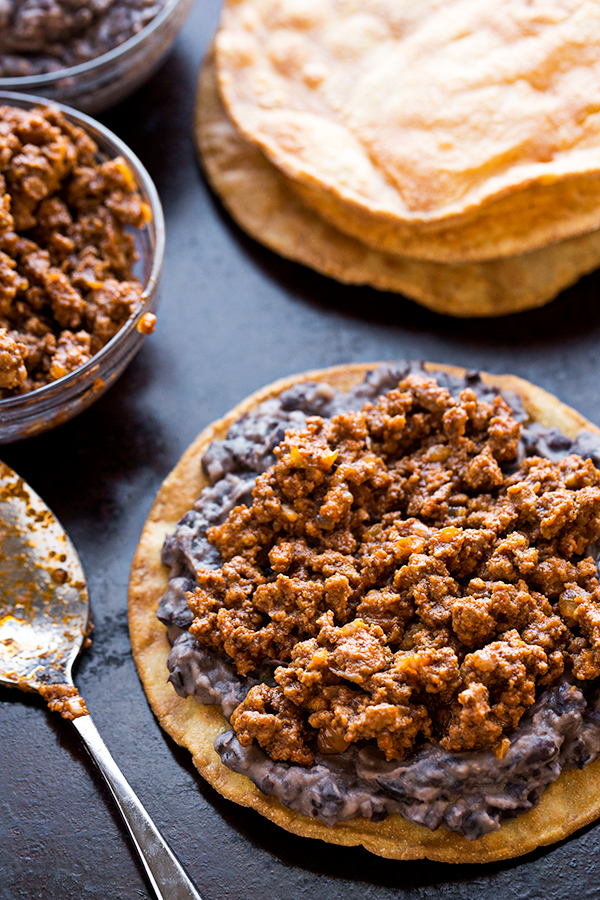
- To begin, I prepare my seasoned ground beef filling.
- Next, I whip up my quick “refried” black bean mixture.
- To prepare my tasty homemade tostada shells, I quickly shallow fry corn tortillas for about 45 seconds.
- Finally, I assemble the Mexican pizzas, spoon over some taco sauce, sprinkle over some cheese, some diced tomatoes, some red onion and some black olives, and bake for a few minutes to melt the cheese.
- I finish with fresh cilantro, cut into wedges, and serve with hot sauce!
Recipe
Mexican Pizza
by Ingrid Beer

Category: Entree
Cuisine: Mexican
Yield: 4 Mexican pizzas
Nutrition Info: 613 calories
Prep Time: 15 minutes
Cook time: 25 minutes
Total time: 40 minutes
Ingredients:
• 1 ½ teaspoon chili powder
• 1 teaspoon ground cumin
• ¾ teaspoon salt
• ¼ teaspoon black pepper
• Pinch red pepper flakes
• Avocado oil, plus more for frying
• ½ onion, finely diced
• 1 pound lean ground beef
• 2 tablespoons tomato paste
• 2 cloves garlic, pressed through garlic press
• 1 teaspoon flour
• 2 (15 ounce) cans black beans, drained and rinsed
• ¼ teaspoon lime zest
• 1 teaspoon lime juice
• 8 white corn tortillas (I like to use Mission brand “super soft” variety)
• Taco sauce (your favorite brand)
• 2 cups shredded Mexican blend cheese
• Finely diced tomato (about 1 large tomato)
• Finely diced red onion (about ½ small onion)
• Cilantro leaves
• ¼ cup sliced black olives (optional)
• Sour cream, if desired
- In a small ramekin, combine the chili powder, ground cumin, salt, pepper and red pepper flakes, and set this aside as your “spice mixture”.
- Place a large pan or skillet over medium-high heat, and drizzle in 1 tablespoon of the oil; once hot, add in the onion and saute for a couple of minutes, until softened and translucent; crumble in the ground beef and break it up very well with a spoon, to create a fine crumble, and cook the meat for a couple of minutes until cooked through.
- Add in the tomato paste, the garlic, and the “spice mixture”, and stir to combine; cook for about 1-2 minutes, then sprinkle in the flour and stir to incorporate; reduce heat to low, and gently simmer the meat mixture for about 3-5 minutes, until slightly thickened; spoon into a bowl to slightly cool.
- Into the same pan/skillet drizzle in about 1 tablespoon of the oil, then add in the black beans; add in a couple of generous pinches of salt and pepper, and cook the beans for about a minute or two, just until warmed through; off the heat, add in the lime zest and the juice, and mash the beans with a masher until chunky-smooth, to create a sort of “refried bean” consistency (you can also add in about 2-3 tablespoons of water if too thick); spoon into a bowl to hold warm.
- To fry your corn tortillas, add enough oil to the bottom of a pan/skillet to completely cover it, and enough to submerge the tortillas in; place the pan over medium-high heat, and once the oil is hot, add in one tortilla at a time and fry for about 10 seconds on the first side, keeping the tortilla submerged with your tongs, and flip (it won't be golden on that first side, yet, but that's OK); cook on that second side for about 30-40 seconds (until golden-brown), then flip and fry that first side for another 30 seconds or so; drain on a wire rack, and repeat with remaining tortillas; allow to cool slightly before assembling.
- Preheat oven to 400°, and line a baking sheet with foil.
- To assemble, spoon about ¼ of the mashed black bean mixture onto one tortilla, followed by about ¼ of the seasoned ground beef; cover that with another fried tortilla, and add some taco sauce (about 2-3 tablespoons), plus a generous sprinkle of the cheese; sprinkle over a little of the olives, diced tomatoes, and red onion; repeat with the remainder of the tortillas, making 4 Mexican pizzas.
- Place them onto a baking sheet and bake just until the cheese is melted, about 4-5 minutes.
- Garnish with some cilantro leaves, and a touch of sour cream; cut the pizzas in half with a knife or even into quarters for tiny wedges.
Tips & Tidbits for Mexican Pizza:
- Lean ground beef: I like to use lean ground beef with either a 94/6 or 85/15 ratio of fat. You can also substitute ground turkey, chicken, or even pork.
- Fresh spices: Opt for fresh spices if possible, as these offer the most flavor. I love the flavor of cumin and chili powder in my seasoning mix—it adds some warmth and that classic south-of-the-border flavor.
- Small white corn tortillas: My favorite brand to use when preparing my Mexican pizza recipe is Mission brand “super soft” white corn tortillas. They are small, and the perfect size. You can also use pre-fried tostada shells if you prefer, but they won't be nearly as light and crisp as if you freshly fried the tortillas at home.
- Tasty toppings: A little finely diced red onion, tomatoes and black beans are the classics for Mexican pizza, and I also love some fresh cilantro; but feel free to use salsa, guacamole, corn, or your favorites!
- Store-bought taco sauce for convenience: A good quality store-bought taco sauce is perfect for this recipe, or you can even substitute enchilada sauce or salsa verde.
- A sprinkle of cheese: A classic grated Mexican cheese blend is ideal for these, or you can use sharp cheddar, or jalapeno jack instead!
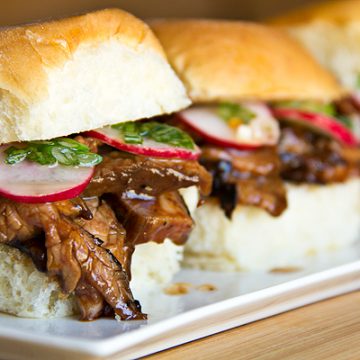
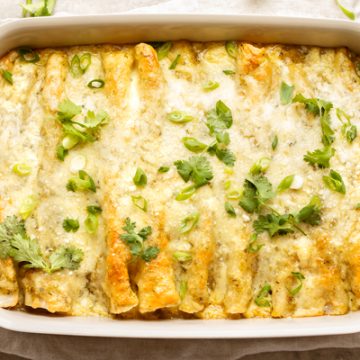
Hungry for more pizza recipes? Check out this Chicken Fajita Pizza, this Flatbread Pizza, or this French Bread Pizza!
Cook's Note: This recipe was originally published in 2016, and has been updated with even more love!

Amber Harding
It's such a great idea! Anything pizza-fied is awesome!
Vicky
These look fabulous! I know the grandkids will love them. thank you for sharing.
Vicky
Ingrid, I just read your bio, and we share the same heritage. All four of my grandparents came from Czechoslovakia. My maternal grandmother came from a small town about 15 miles from Poland in what is now the Czech Republic, hence our love affair with pierogi and holubki[stuffed cabbage]. We visited Prague a few years ago, and when I asked about the cabbage and pierogi, the servers looked at me like I had 7 heads! I haven't had chance to look through all of your posts, but I'm hoping to find some delicacies from Slovakia.
The Cozy Apron
Hi Vicki! First off, so glad the recipe looks tasty to you—hope you get the chance to prepare these for the grandkids! 🙂 And secondly, what a small world!! Both sets of grandparents—wow! Yes, both of my parents immigrated from what is now known as the Slovak republic. My grandmother still lives there, as well as all of our other extended family. Isn't Prague amazing? Absolutely one of my top 3 favorite places. It's unfortunate that the cuisine is slowly dying out in many places‚ though I'm sure that there are still some "purists" out there looking to preserve it; but I can only image the strange look you got asking for those items! I don't have too many recipes that are necessarily eastern European here on the blog, just a couple (if you go back to our very first post from 2012 you'll see one inspired by our heritage: https://thecozyapron.com/the-taste-of-memories/). But I'd say that I'm definitely influenced by the cuisine I grew up with, no question. I'm so glad to have you come by—thanks for your readership!
Erin @ Thanks for Cookin'!
Delicious looking recipe!
The Cozy Apron
Thank you, Erin!
Cathleen @ A Taste Of Madness
This looks so good! I think I know what I'll be making this weekend!
The Cozy Apron
Hey Cathleen, hope you enjoy!